Menu
Showing posts with label CONDIMENT. Show all posts

Curry leaves powder/ Karuvepillai podi/Kariembuilai podi is an easy, simple, delicious, and quick condiment recipe. you will feel the flawless aroma of curry leaves. It is a quick recipe to do instantly and serve it in rush time.  Curry leaf is a leaf used to add aroma for recipes in the kitchen, Curry leaves are called as Karivembuilai (Tamil), later it changed as Karuvepillai. Curry leaves have lots of health benefits like ->it helps to reduce the body weight, get relief from morning sickness and nausea, Diabetics friendly, helps to improve eyesight, reduces wounds, burns, skin allergy. It helps to increase hair growth and a good source of iron and calcium. It is rich in Vitamin A, Vitamin B, Vitamin C, Vitamin B2.
 You can make this recipe with easily available ingredients. You can be store and use it for 3 months. 
                          This is the best bachelor recipe powder.
 Serve it with plain steamed plain rice with ghee, idly dosa or you can use it for s tempering any vegetable fry!!!! 
Similar recipes
                    
                                This kitchen is seasoned with Love!!!!

                    
Come I will share with you all, How to Make a Simple, Curry leaves powder/ Karivempillai podi /Karuvembuilai podi with step by step pictorial method. Hope you all love it ðŸ’“ 

                     Learning and Sharing is real Happiness!!!!!!                   

Course: Condiments  Prep Time:20 minCook Time:15 minutes
 Cuisine: INDIAN Serving: 250gms Author: Bhuvana Devi

 Ingredients
1.    Black Urad dal - 4tbsp (you can also use white urad dal )
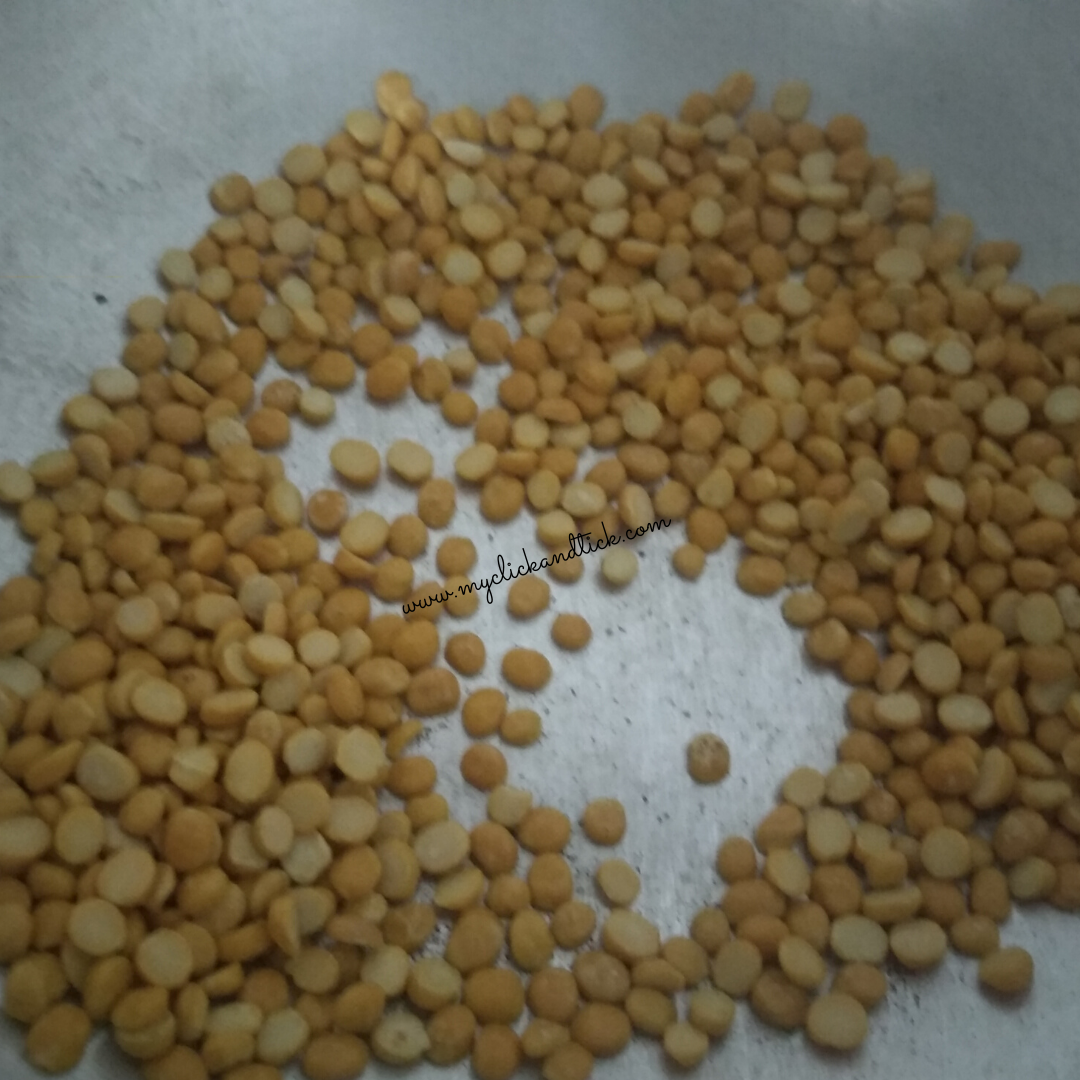
2.     Chana dal – 3tbsp
3.     Coriander seeds- 1 tbsp
4.     Cumin seeds - 1tsp
5.     Dried Red chili -10
6.     Curry leaves- 4 full hand
7.     Asafoetida -1/4tsp
8.     Salt req
Instructions: 
·   First, wash and clean the curry leaves and dry it under shade for one day.
·    Then, Dry roast red chilies, don’t change the color and keep aside.
 ·  Dry roast Coriander seeds, Chana dal, Urad Dry roast Coriander seeds, Channa dal, Urad dal, Cumin seeds, Asetafoia and keep it aside. Let it cool for 10 min.
·  Blend all the ingredients together into a coarse powder

·  Cool it down and store it in a container and use it for 3 months

Serve it with plain steamed plain rice with ghee, idly dosa or you can use it for s tempering any vegetable fry!!!! 
Note:

  •  Care should be taken not to over roast it.
  •   Store it in an airtight container.
  • If you are roasting all the ingredients with oil, store and use it within 10-15 days.
  • If you are-roasting all the ingredients without oil you can store and use it for up to 3 months.

 How to make Curry leaves powder/karuvepillai powder/Karivembuilai podi

 with step by step pictorial method:

  • First, wash and clean the curries leaves and dry it under shade for one day.

  • Then, Dry roast red chilies, don’t change the color and keeps aside.
  • Dry roast Coriander seeds, Chana dal, Urad Dry roast Coriander seeds, Channa dal, Urad dal, Cumin seeds, Asetafoia and keep it aside. let it cool for 10min.


  • Blend all the ingredients together using a blender into a coarse powder.


   Yummy, Delicious, Curry leaves powder is ready to serve.
Serve it with plain steamed plain rice with ghee, idly dosa or you can use it for s tempering any vegetable fry!!!! 

                 Try it in your kitchen!!! and enjoy with your loved ones !!!

 If you try this recipe and leave a comment below, let me know how it turns out for you.

  ===>   If you like my recipes. For more latest updates -->  Click Subscribe button and verify it through your email. 

===>Say-Hi in my social media accounts ==>Follow me on Pinterest, Twitter Facebook.  Instagram 

        Try it in your kitchen!  If u like this recipe, do share it with your friends and family. Tried this recipe?? Tag me @myclickandtick and #myclickandtick on Instagram. 
                        Thanks for visiting my blog!! Welcome again!!

4

Chunky plum jam is delicious. It is the easiest method to make it in the home instantly. Hereafter, no need to buy jams in the shop; you can make it at home, jams without any preservatives, we are making it with fresh fruits. There are two methods of preparing jam, one is directly using chopped fruits and another one is blending the fruits into a smooth paste and using it. Do follow any of the methods for preparing jam. During seasonal times we get fresh plums, we can use it for making jam and store it for 3 months. Here, I am using Lemon juice is for safe canning, avoid bacteria growth. using a cinnamon stick for adding flavor. Kids love jams a lot and maybe bliss for your taste buds. This recipe is so simple to make yet satisfying and delicious!!

         Here I share with you all how to make chunky Plum jam with few ingredients.

                      Learning And Sharing is Real Happiness!!! 


Cuisine: International

Course:  Condiment

Preparation time: 10 min

Cooking time: 30 min

Author: Bhuvana Devi

 Ingredients: 


Plum

500gm

Lemon juice

½ tsp

Cinnamon stick

 1 inch- 1

Sugar

1cup


 Method:

          Method 1: If you want little chunky jam, chop, remove the seeds      

                from the plum fruit and use it.

         Method 2: If you want a smooth jam removes the seeds and blend well into a

                      Smooth paste using blender and use it.

Preparation:

   1. Canning jar and lid are to be sterilized with boiling water by covering with a lid for at least 15 minutes. Turn off the flame and leave it for 1 hour. Then, Drain the water well and leave it for a whole night, without disturbing it.

2.     Wash, clean, chop the plum into small pieces, remove the pulp.

Chunky jam method:

  •        Turn on the flame to heat a wide Pan, Add the chopped plum fruit and 1 cup of sugar sauté well in low flame.
  •       Now the sugar melts and add 2 tbsp of water and bring it to boil. Stir in between a minute.
  •        Smash the plum fruit using a beater or with a spoon.
  •         Add lemon juice, cinnamon and mix well, until the jam comes to a spreadable consistency
  •         Turn off the flame. Let it cool, keep it aside, and continue canning.
  •         You can refrigerate it and use for 3 months and enjoy!!!!

                        Yummy !!! Fresh plum jam is ready.

                       Try it in your kitchen, surprise your kids.

 --------------------------------->$<-----------------------------------

Pictorial step by step method:

 Step1: Canning Glass jar and lid are to be sterilized with boiling water by covering with a lid for at least 15 minutes. Turn off the flame and leave it for 1 hour. Then, Drain the water well and leave it for the whole night, without disturbing it.                                    

Step2: Wash, clean, chop the plum into small pieces, remove the pulp.


 Step3: Turn on the flame to heat a wide Pan, Add the chopped plum fruit and 1 cup of sugar sautés well in low flame.


   Step4: Now the sugar melts and add 2 tbsp of water and bring it to boil. Stir in between a minute.


  Step5: Add lemon juice, cinnamon and mix well  


Step6: Smash the plum fruit using a beater or with a spoon. boil it low flame until the jam comes to spreadable Consistency.


  Step 7:   Turn off the flame. Let it cool, keep it aside, continue canning.   

 Step 8: You can refrigerate it and use it for 3 months and enjoy it!!!!


Now yummy fresh plum jam is ready.

    Try it in your kitchen!!! and enjoy with your loved ones !!!


  ===>   If you like my recipes. For more latest updates -->  Click Subscribe button and verify it through your email. 

===>Say-Hi in my social media accounts ==>Follow me on InstagramPinterest Twitter Facebook. 

        Try it in your kitchen!  If u like this recipe, do share it with your friends and family. Tried this recipe?? Tag me @myclickandtick and #myclickandtick on Instagram. 


2

Pineapple Jam - smooth Method WOW!! Hearing the name Pineapple itself hits the sweetness in the tongue and this jam is yummy and delicious to have. It is the easiest method to make it in the home instantly. No need to rush for shop for buying jams and its quite expensive than homemade jam. Cleaning pineapple is a little bit harder, yet the taste in it compromises all.  I am sure, after trying this recipe in your kitchen, you won’t leave the pineapple jam recipe whenever you find Pineapple. More recipes are there using Pineapple jam. I will share all with you soon! Also, the jam is a condiment. You can use it in many ways.  Homemade jams are free from preservatives; we are making it with fresh fruits. There are two methods of preparing jam, one is directly using chopped fruits and another one is blending the fruits into a smooth paste and using it. Do follow any of the methods for preparing jam. Here I am using a smooth jam method for making Pineapple jam. You can store it in the refrigerator and use it for 3 months. Here we are using Lemon juice is for safe canning, avoid bacteria growth. Kids love jams a lot. So, try this method in different fruits. This recipe is so simple to make yet satisfying and delicious!!

         Here I share with you all how to make smooth Pineapple jam with few ingredients.  

                      Learning And Sharing is Real Happiness!!! 

                 Enjoy cooking. Spread the jam with your loved ones!!!!


Cuisine: International

Course: Condiment

Preparation time: 20 min

Cooking time: 30 min

Author: Bhuvana Devi

 Ingredients: 


Pineapple

1 (medium size)

Lemon juice

½ tsp

Cinnamon stick

 1 inch- 1

Sugar

1/2 cup


Method:

Method 1: If you want little chunky jam, clean, peel the skin from the fruit, chop it into small pieces and use them.

 Method 2: If you want a smooth jam clean, peel the skin and horns from the fruit, blends well to a smooth paste using a blender and use it.

Preparation:

   1. Canning jar and lid are to be sterilized with boiling water by covering with a lid for at least 15 minutes. Turn off the flame and leave it for 1 hour. Then, Drain the water well and leave it for a whole night, without disturbing it.

2.     Wash, clean, peel the skin from the pineapple cut it into pieces.

Smooth Jam method:

  • Blend the chopped pineapple pieces into a smooth paste using a blender. (Do not add water)
  • Turn on the flame to heat a wide Pan, Add the pineapple paste and 1/2 cup of sugar sauté well in low flame. (Pineapple itself gives more sweetness. So, I have added ½ cup. If you want more sweetness to add it more)
  •   Bring it to boil and Stir in between a minute in low flame.
  •    Add lemon juice, cinnamon, mix and boil well. until the jam comes to a spreadable consistency.
  •   Turn off the flame. Let it cool, keep it aside, and continue canning.
  •   You can refrigerate it and use it for 3 months and enjoy!!!! 

                        Yummy!!! Fresh Pineapple jam is ready.

                       Try it in your kitchen, surprise your kids.

 --------------------------------->$<-----------------------------------

Pictorial step by step method:

Step1: Canning Glass jar and lid are to be sterilized with boiling water by covering with a lid for at least 15 minutes. Turn off the flame and leave it for 1 hour. Then, Drain the water well and leave it for the whole night, without disturbing it.    


Step2: Wash, clean, peel the skin and horns, chop it into small pieces.


 Step3:  Blend the chopped pineapple into a smooth paste using a blender. (Do not add water)


Step4: Turn on the flame to heat a wide Pan, Add the pineapple paste and 1/2 cup of sugar sauté well in low flame. 


Step5: Bring it to boil. Stir in between a minute.


Step6: Add lemon juice, 1inch of cinnamon stick Mix, Boil it in low flame until the jam comes to spreadable Consistency.


  Step 7: Turn off the flame. Let it cool, keep it aside, continue canning.   

 Step 8: You can refrigerate it and use it for 3 months and enjoy it!!!!    


  Yummy! fresh Pineapple jam is ready.


    Try it in your kitchen!!! and enjoy with your loved ones !!!

  ===>   If you like my recipes. For more latest updates -->  Click Subscribe button and verify it through your email. 

===>Say-Hi in my social media accounts ==>Follow me on InstagramPinterest Twitter Facebook. 

        Try it in your kitchen!  If u like this recipe, do share it with your friends and family. Tried this recipe?? Tag me @myclickandtick and #myclickandtick on Instagram. 


0

Author

authorWelcome to my Blog !!! I am Bhuvana Devi ,Blogger behind My Click and Tick.
More


Try Me !!!